Accessible Wetland Trails: A Guide to Wheelchair and Pushchair-Friendly Routes
A good wetland trail is not simply a path through reeds. It is a promise that you can reach the water's edge, sit down, watch a marsh harrier quarter the fen, and get back to the car without being carried or coaxed. That promise rests on small details: the depth of the gravel, the lip where a boardwalk meets the bank, whether there is a bench at the halfway point. Guides rarely spell these out. So here is what to look for, and what to ask about, before you load the boot.
Start with the surface, because everything else follows
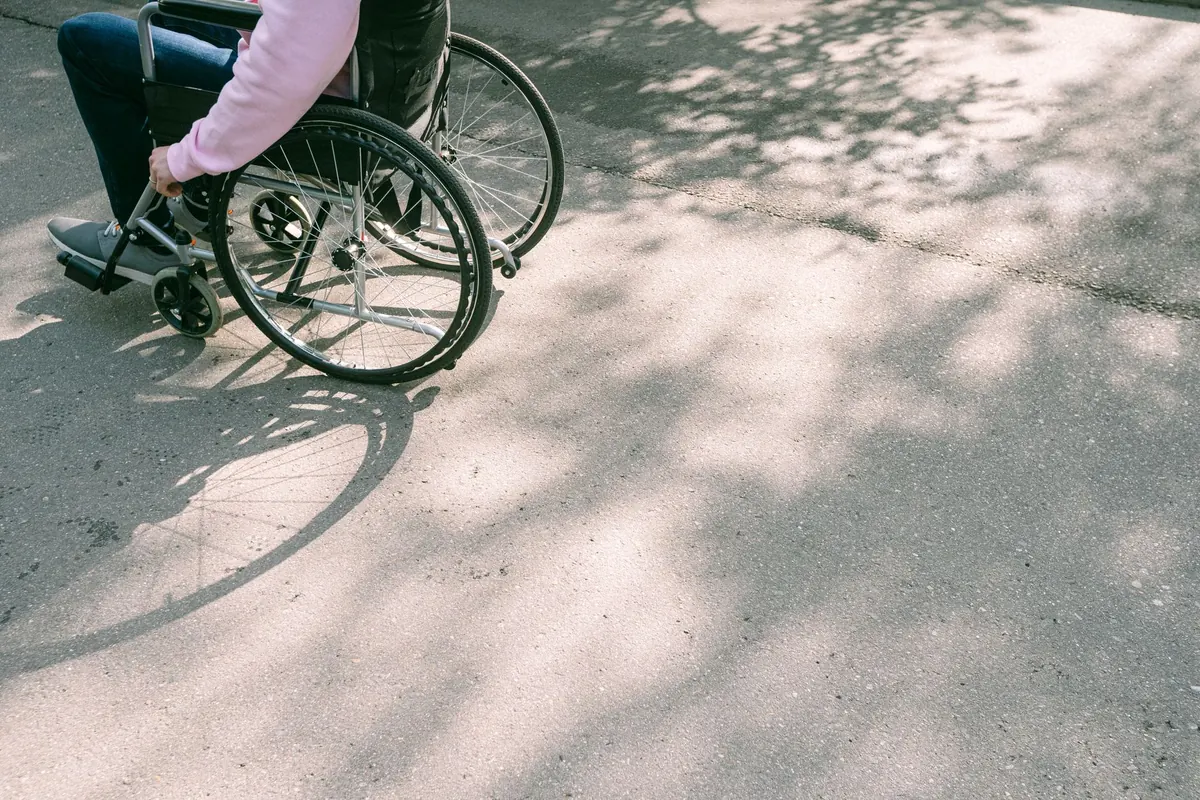
Surface is the first thing to check and the hardest to judge from a description. A path labelled "firm and level" can mean resin-bound gravel that rolls like tarmac, or it can mean a summer grass track that turns to soup after a week of rain.
Broadly, the easiest surfaces for wheels are sealed tarmac, resin-bound gravel and well-built timber boardwalk. Compacted gravel is fine when it is graded and rolled, but loose stone more than about a centimetre deep will drag at castors and slow a scooter to a crawl. Grass is workable in a dry spell and miserable in winter. That is not a reason to avoid wetland reserves between November and March — it is a reason to ring ahead and ask what the main path is like today.
Two wetland-specific traps are worth knowing. First, flooding: many reserves sit on deliberately wet ground, and a route that is bone dry in August may have a shallow wash over the boardwalk in February. Second, silt. River and fen water leaves a fine film on timber, and a boardwalk that has no anti-slip mesh or chicken wire can be genuinely treacherous underfoot and under tyre.
Boardwalks and the joints between things
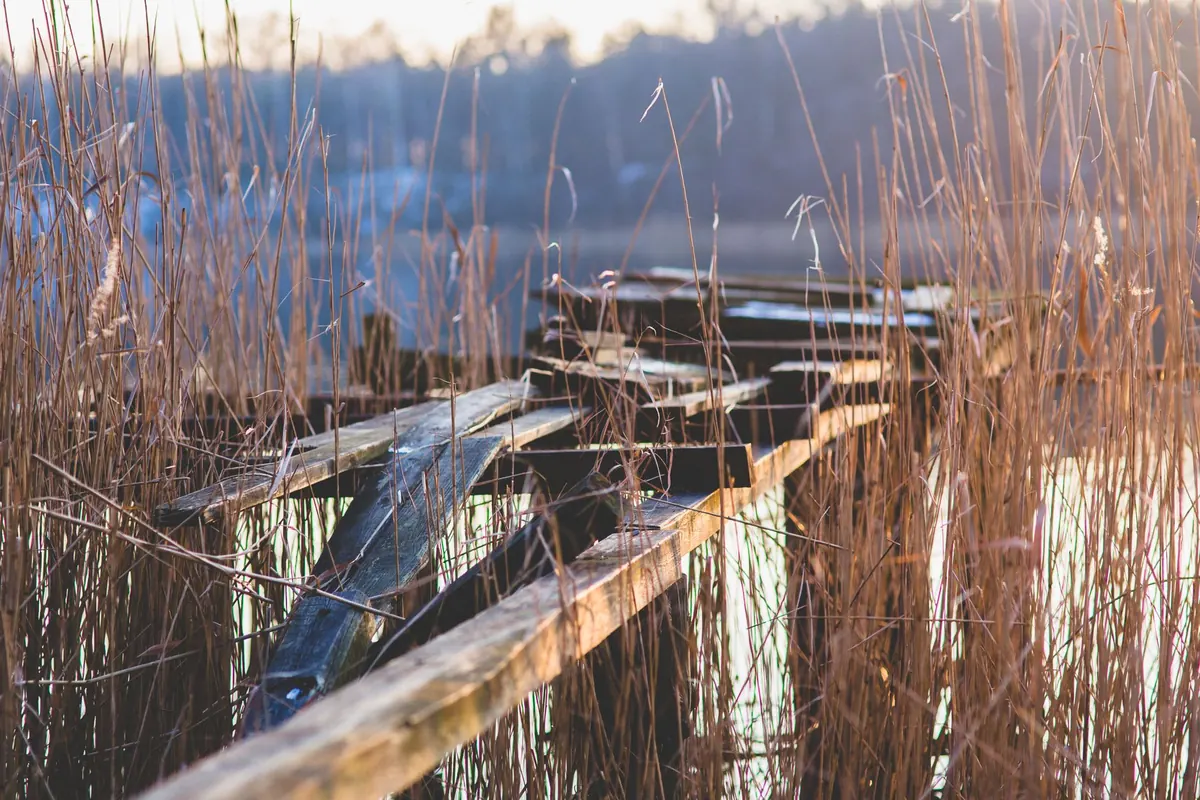
The awkward part of an otherwise level boardwalk is rarely the deck itself. It is the transition — a raised lip of 20 or 30 millimetres where the timber meets the path, a gap wide enough to catch a small castor, a section that flexes and dips under a heavier chair. Floating pontoons that rise and fall with the water are wonderful for access and unnerving to cross; expect some movement and check whether there is a handrail on at least one side.
Gradients, cambers and the bits maps leave out
Most people think about steep hills. In practice, the crossfall is often the bigger problem: a path that is level from front to back but tilts sideways will push a chair steadily towards the edge, and the shoulder and wrist effort of correcting it over a kilometre adds up. Look for words like "crossfall", "camber" and "side slope" in a guide, and treat their absence as a question to ask rather than a reassurance.
For ramps, 1:12 is the ratio commonly used in UK accessibility guidance — one metre of rise for every twelve metres of run. Short sections steeper than that may be manageable with momentum for some users and impossible for others, so a good trail guide will mention whether there is a stepped alternative with a handrail, and how long the steep section actually is.
Then there are the obstacles that never appear on a map:
- Gates. Kissing gates, stiles and self-closing gates are the classic blockers. Ask whether there is a radar-key lock, a gate that opens both ways, or a gap beside it.
- Width. Around 1.2 metres is a workable minimum for one wheelchair or pushchair, but passing another user needs closer to 1.5 to 1.8 metres, or regular passing places.
- Kerb-style edges. Timber edging along a path keeps gravel in place and creates a lip to bump over every few metres.
Hides, viewing platforms and getting close to the water
The whole point of a wetland trail is the wildlife, and the whole point of an accessible one is being able to watch it from a seated position. A hide with level access, a lowered viewing slot and space to turn a chair inside is worth more than a longer trail with no place to stop at the end of it. Ask about the threshold at the door, the turning space inside (many reserves aim for a circle of roughly 1.5 metres), and whether the benches inside are fixed to the wall or movable. Fixed benches at a good height are excellent for some visitors and a barrier for others.
Outdoor viewing screens and platforms are easier to manage than enclosed hides, and often better for pushchairs. Look for a firm apron in front of the screen rather than a patch of mud.
Benches, rest stops and the value of a seat
Distance is only half the story of a route. Rest points decide whether a two-kilometre loop is a pleasant hour or an endurance test. A bench every few hundred metres, with a backrest and armrests — easier to push up from than a flat plank — transforms a trail for anyone with limited stamina, a heart condition, a recent injury or a young family. Shade matters in July, and so does the direction a bench faces: one looking out over open water is a destination, one facing a hedge is just furniture.
Facilities to check before you leave the house
The trail may be perfect and the trip still fall apart at the car park. Worth confirming in advance:
- Parking. Blue badge bays, the surface of the car park itself, and any height barrier at the entrance.
- Toilets. An accessible toilet at the visitor centre is useful; a Changing Places facility, with a hoist and adult-sized changing bench, is a different thing entirely and worth searching for specifically.
- Mobility equipment hire. Some reserves lend or hire all-terrain wheelchairs and mobility scooters. They usually need booking, and they run out in school holidays.
- Distance from car park to the first bench or hide. A short loop near the entrance suits many visitors better than a long trail.
- Refreshments and shelter. A café with step-free entry, or at least a covered picnic area for a flask on a wet day.
- Opening times and tidal or flood closures. Boardwalks on estuaries can be shut without much warning.
How to read a trail guide, and what to ask
Treat an accessibility description as a starting point, not a guarantee. The best ones are specific: they name the surface, give the width, mention the steepest ramp, and admit where the mud is. Vague phrases such as "suitable for most users" tell you almost nothing.
When you ring the reserve, a short list of questions gets you further than a general enquiry:
- What is the main path made of, and has it been resurfaced this year?
- What is the narrowest point, and are there gates on the route?
- How far is it to the nearest bench, and to the nearest accessible toilet?
- Has the boardwalk flooded in the last fortnight?
- Can I book a scooter or all-terrain wheelchair, and what is the weight limit?
A short routine before you set out
Check the weather for the catchment, not just your own postcode — rain upstream can raise water levels a day later. Charge anything electric, pack a spare layer and gloves, and take water even on a grey day. If you rely on a companion, agree the turnaround point in advance. And if a health condition affects your stamina, balance or mobility, it is worth a word with your GP or physiotherapist about what distance and terrain are sensible for you.
Then go. Wetlands reward patience: the best sightings often come after twenty quiet minutes in one place, which is exactly what a well-placed bench is for. Choose the trail that lets you stay a while, and the marsh will do the rest.
Photo: SHVETS production / Pexels

Slot Volatility Explained: Why Your Bankroll Depends On It
Two players sit down at the same online slot, both with a $100 bankroll, both spinning at $1 a pull. One...

Volunteer Conservation on Wetland Trails: How to Join a Local Work Party
Practical conservation volunteering on wetland trails is sociable, useful and easier to start than you...
About Us